When you think of the concept of superpower the first thing that comes into your mind might be something supernatural, magical, or unreal. In fact, there is a superpower that is quite simple to obtain by anybody who has a bit of programming knowledge! This superpower is web scraping. You might ask: “Well, why would I even need web scraping?”. This article will show you that web scraping is a superpower you can use in your daily tasks in many different areas and how to do web scraping with your favorite programming language, Python.
One of the most popular areas where web scraping is used is e-commerce, so I would like to focus on e-commerce in this article and show its example. We are going to be gathering data from eBay. Also, Python is one of the most popular and easy to learn programming languages of recent years, so that will be our programming language for this tutorial. Before we start, the pre-requisites for this tutorial are:
- Python 3: We are going to be using Python 3 throughout the whole tutorial. For consistency, make sure that you have Python 3 installed.
- Requests library: This library is for sending HTTP requests and gathering the HTML data from the target web pages to obtain the information we are looking for.
- Pandas library: This library is for keeping the records of our scraped data in the form of tables (CSV in general, google sheets, excel, numbers, etc.)
- Beautiful Soup 4 library: This library is for searching through the HTML code in an organized and simple way.
- Basic Python and HTML knowledge: You have to know conditional statements (if-else), loops, and lists. Also, a basic understanding of HTML structure is good to have.


Throughout the tutorial, Visual Studio Code will be used. It is one of the most popular IDE’s with various add-ons, and it is free. If you would like to get it, the download from the link is provided.
Also, Python3 will be used. So go ahead and install that before we start.
After you are done with installing the IDE and Python3, continue with satisfying the tool pre-requisites. Installation of the libraries we are going to use for this tutorial from the terminal is as follows:
pip3 install beautifulsoup4
pip3 install pandas
pip3 install requests
Since we are done with all our pre-requisites, let the coding begin!
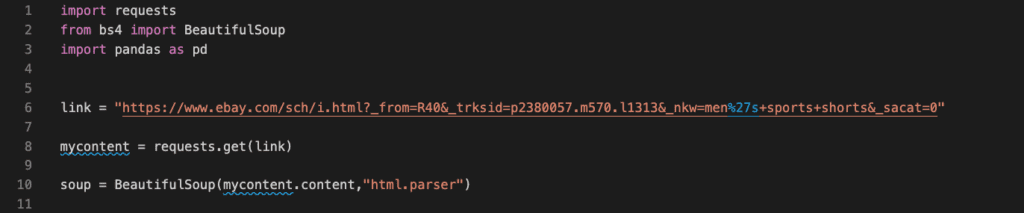
Start with creating your project folder where the py file and CSV file are going to be stored. And in the first three lines of your py file, import the libraries that we have downloaded.

Now we can begin coding. Let’s say I would like to gather data about Men’s Sports Shorts. Let’s search that on eBay and obtain the URL for the first page of men’s sports shorts.

So the URL is: https://www.ebay.com/sch/i.html?_from=R40&_trksid=p2380057.m570.l1313&_nkw=men%27s+sports+shorts&_sacat=0
Now let’s assign that to a variable.

Perfect! Now that we have the URL where we will be scraping data from, we have to obtain the HTML source of that web page. We will do that by using the HTTP library for python, which is “requests”. We are going to do that by calling the “get(URL)” function from the “requests” class. And assign that to a variable.

This will obtain the HTML source of the address in question. To search and obtain the data we need from the HTML code, we, somehow, need to search through it. Searching through it word by word is a way to do it, but this would not be convenient and could be a lot more complex to handle. Instead, Beautiful Soup 4 lends a helping hand to us. As mentioned in the beginning, the Beautiful Soup 4 library is designed for searching through HTML tags with ease, which will make it a lot faster to find the information we are looking for. So we create a BeautifulSoup object as follows:
- Here soup is the name I gave for the BS4 object.
- BeautifulSoup(…) is the constructor of BeautifulSoup class.
- mycontent.content extracts the content of HTML source the way BeautifulSoup wants.
- “html.parser” tells the BS4 object that the content provided will be parsed as HTML.
So far, so good! Now we are ready to scrap the data we want. In this case, I would like to gather title, price, and shipping information for men’s sports shorts appearing on the page I obtained (After this tutorial, try to figure out how to scrap the data in all of the pages). To do that, we have to take a closer look at the page’s HTML content. So let’s go ahead and “inspect” the webpage to see the HTML source. To do so, navigate to the webpage in question, right-click on one of the items (men’s sports shorts), and click on “inspect”.
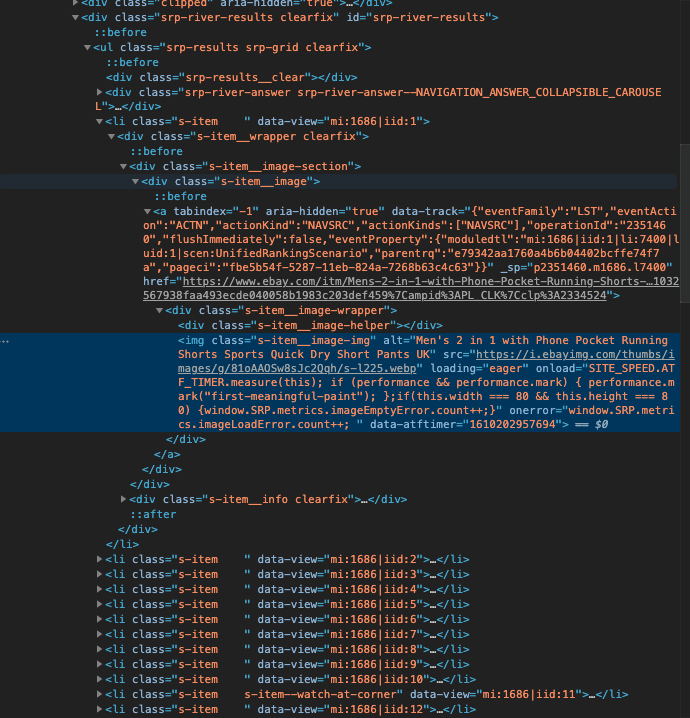
You will see this tab opening in your browser. This is the HTML code. Here, you have to try and find the “tags” you are looking for. In this case, the “tags” I am looking for are the “tags” that contain the title, price, and shipping information.
Since we have clicked “inspect” on one of the items, it directly opened the HTML tag of that item; in fact, it opened the tag for its image since I clicked on the image. We need to find the tag that covers the whole item (not only the image). If you mouseover the outer tags, you will find out that tag with class=”srp-results srp-grid clearfix” is the one we are looking for. You can see that each item is listed in
- tags and inside that the information is put in the
tag with the mentioned class by opening the
- tag of each item as follows:
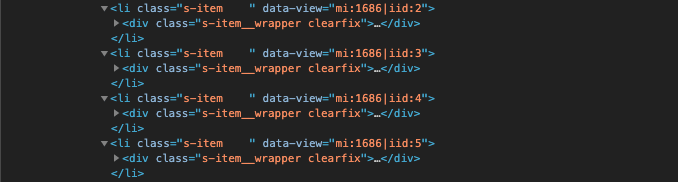
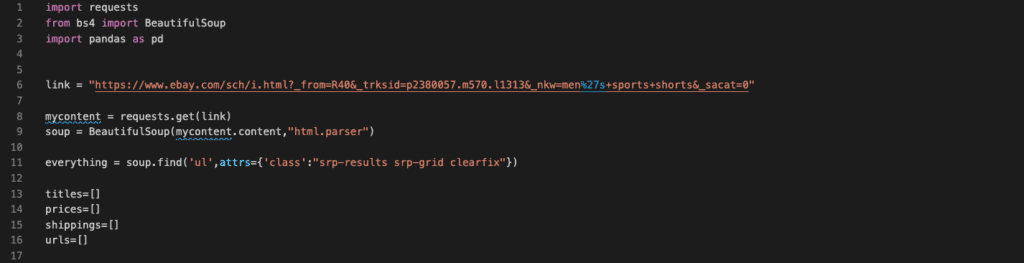
Therefore, to obtain all the items, we just need to obtain all the tags with class=”s-item”. For that, we need the BeautifulSoup object that we have created using the parsed HTML code. How we find a particular tag’s content in BeautifulSoup is as follows:

We use the BeautifulSoup.find(…) function to extract the content inside the tag we are looking for, using its class and tag name. Since all the class=”s-item” are inside the “ul” tag with “srp-results srp-grid clearfix” class, we first need to get that. Now we can start extracting each item inside the tag we obtained one by one. For that purpose, we will use a member function of Beautiful Soup 4 and a “for” loop. Before doing that, let’s first create the lists where we will store the information we are looking for from the items, such as title, price, shipping information, and URLs to access the pages of items that attract us easily.
Now we are ready to loop through each item and scrape the data we need. Now we will create a for loop and inside the for loop, and then iterate through a list generated by the BeautifulSoup.findAll(…) member function. Inside the findAll, we will pass the ‘li’ and attrs={‘class’:”s-item”} since those are the tag name and class of the items (see Figure 5 and Figure 6). This will return a list that consists of the items on the page.
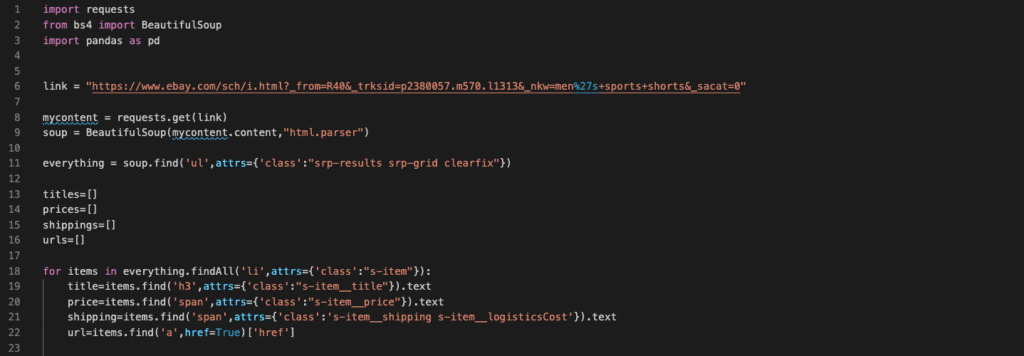
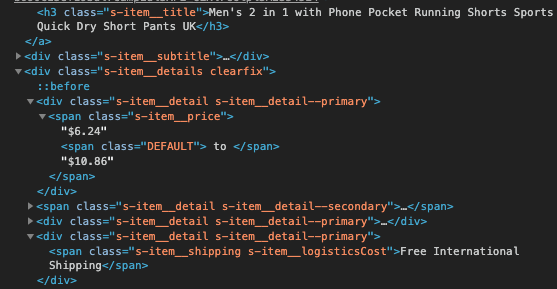
Here for each “item”, we need to attain the tags which contain the information in question. For that, we need to find those tags. So we go back to our HTML code and find the tags by hovering over them just as we did in Figure 5 and Figure 6. In Figure 9, it is clear to see which tags contain what kind of information. And we used those tags together with BeautifulSoup.find(…) member function to extract the information. Although, what these member functions return are not “string”s, in other words, “text”s. They still return BeautifulSoup objects. So I convert each BeautifulSoup object into text by adding “.text” at the end. Next, we need to add the information to the lists we have previously created.
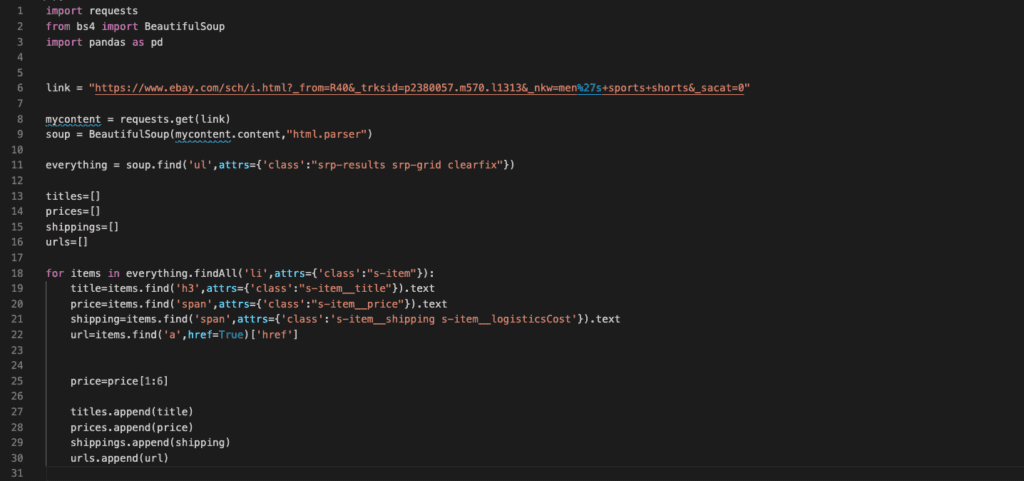
As you can see in Figure 11, before starting to append the information into lists, I first apply a string manipulation on “price”. That’s because of the way eBay is showing the prices. It shows the upper and lower limit of the prices. In this case, I only want the lower limit. So I want the indexes from 1 to 6 from the string obtained from the price tag, which includes the lower limit price. Also, the “$” sign is not included to prevent it from causing any problems when sorting the prices in the CSV. After that, I finally append all the information I gathered to the corresponding lists.
Now that we have all the data in our lists, it is time to convert our data into a CSV, the final step.
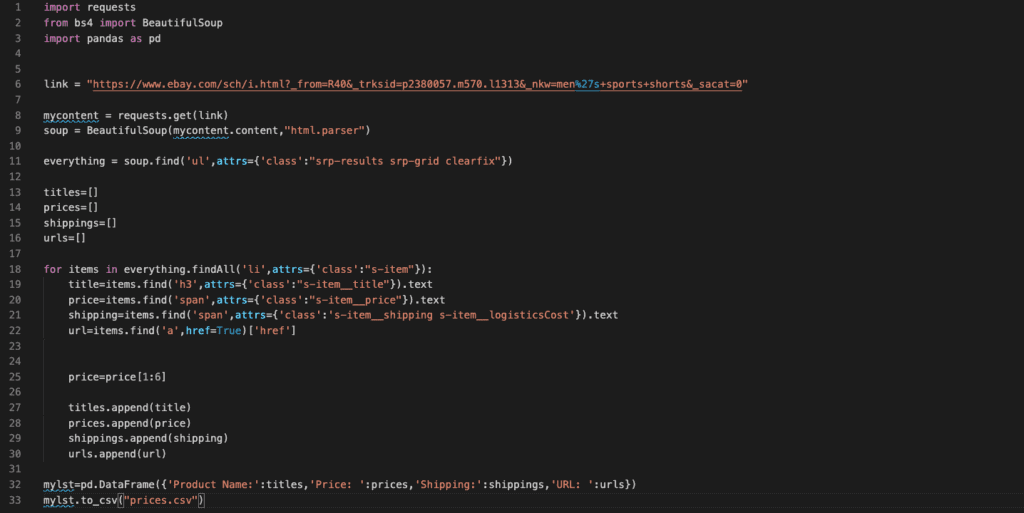
To convert the lists into a CSV formatted table, we need the Pandas library as mentioned in the beginning. For that, we create a Pandas object called “mylst” and use the pd.DataFrame(…) function to convert our data into a “Data Frame” which then will be converted into a CSV. In the DataFrame(…) the quoted strings are the names of the columns, and the lists provided are the content of the rows. In this case, the first column will be the “Product Name”, the second will be “Price: ”, the third will be “Shipping: ” and the forth will be “URL: ”. Finally, using to_csv() function on the Pandas object, I convert the object into a CSV file called “prices.csv”. This will create a CSV file in the directory where you created your Python code. So let’s run the code and check it out!
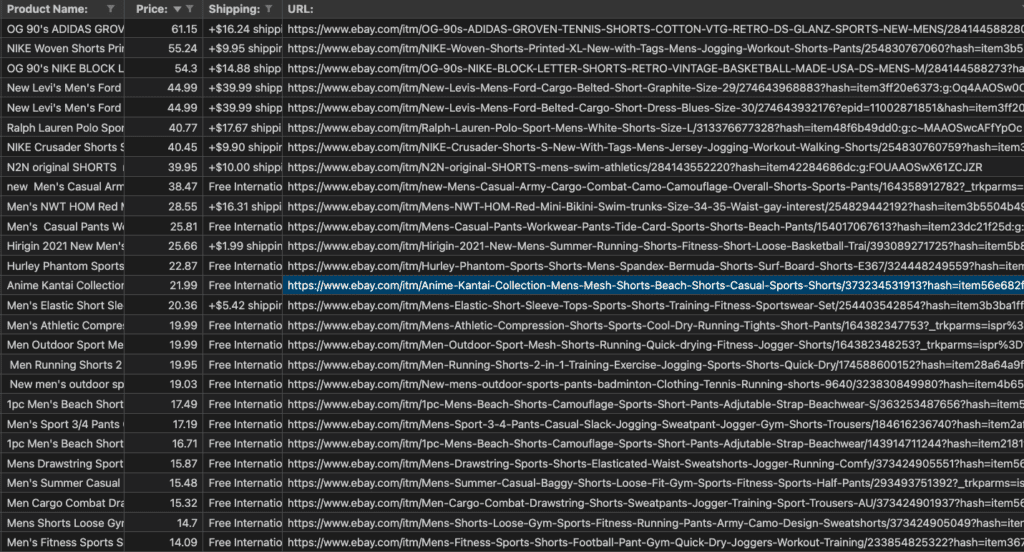
That’s it! Now you have all the data you need. You can preview the table in VS Code by right-clicking on the CSV file and selecting “Open Preview” or open it with any software capable of viewing datasheets such as excel, numbers, google sheets, etc.
Now that you know how to obtain the HTML source of a webpage, and extract the information you need from it, you can start practicing by improving the program we have created in this tutorial. For instance, try to improve the program by making it scrape through all the pages of the searched item.
Here is the whole code in case you would like to copy and paste it into your editor: