In this post, we will complete the steps needed to deploy the model on the web. In Part-1, we prepared the necessary files. Here, we will test the model locally, upload the files to GitHub, and deploy the app on Heroku.
Step 1: Testing the Model Locally
Before uploading the files, test the model locally to ensure it works. Use the following steps:
- Open a terminal or command prompt.
- Run the command in bash:
python app.py - Copy the URL displayed in the terminal and paste it into a web browser.
- Fill out the form and click the Submit button to check the app’s functionality.
If the app works as expected, proceed to the next step.
Step 2: Uploading Files to GitHub
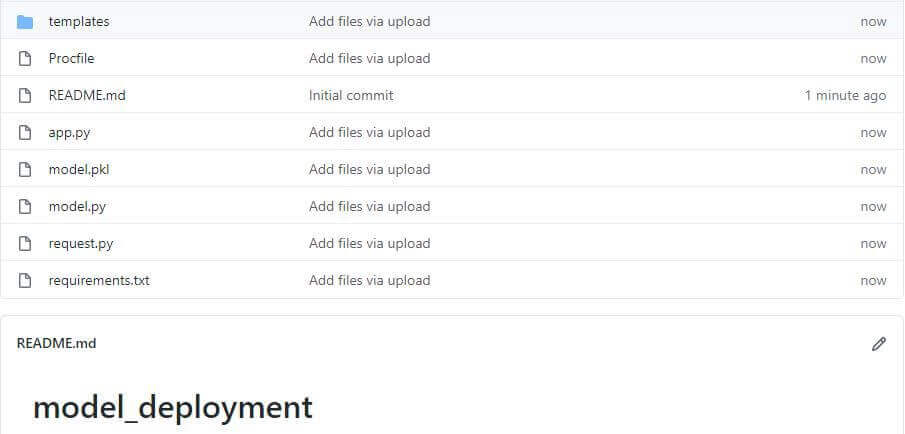
Upload the following files to a GitHub repository:
model.pymodel.pklapp.pyindex.html(inside thetemplatesfolder)Procfilerequest.pyrequirements.txt
You can upload files using a browser or a command line. For files larger than 25 MB, use a command line.
- Create a GitHub repository (e.g.,
model_deployment). - Upload the files via the browser or use the following commands for the command line:
git init
git add .
git commit -m "Initial commit"
git branch -M main
git remote add origin
git push -u origin main
Once the files are in the repository, move to the next step.
Step 3: Deploying the App on Heroku
Heroku is a cloud platform that allows you to deploy and run apps on the web. To get started:
- Create a Heroku account: Sign up at Heroku (https://signup.heroku.com/).
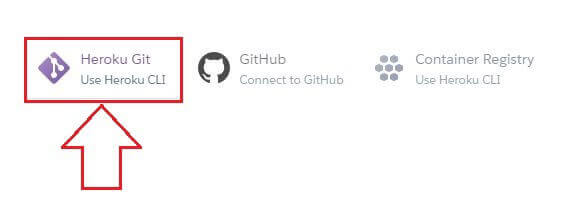
- Choose a deployment method: Use either Heroku CLI or a GitHub connection.
Method 1: Heroku CLI
- Install Heroku CLI from Heroku CLI.
- Run the following commands in your terminal:
heroku login
heroku create
git init
git add .
git commit -m "deployment"
git push heroku main
heroku open
3. Your app will be deployed, and you can open it in a browser.
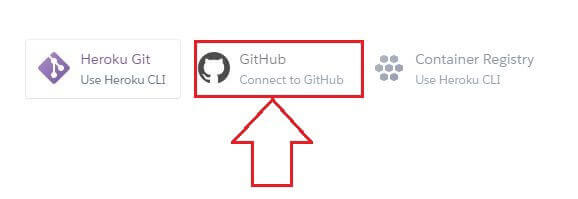
Method 2: GitHub Connection
- Log in to your Heroku account.
- Click New > Create New App.
- Name your app and click Create App.
- Under Deployment Method, select GitHub.
- Search for your repository and click Connect.
- Click Deploy Branch to deploy the app.
After deployment, click View to test the app in a web browser.
This concludes Part-2 of the topics we started discussing earlier. To revisit the information about preparing the necessary files for deployment, check out our article Model Deployment with Flask/Part-1.
Final Thoughts on Model Deployment with Flask
In this two-part guide, we covered:
- Preparing files for deployment using Flask.
- Testing the app locally.
- Deploying the app on Heroku.
Heroku makes it easy to run apps on the web, allowing you to prototype and test your work. By understanding these steps, you have successfully integrated your machine learning model into a web application, making it accessible for practical use. Now, you can start creating more apps to refine your skills!